With my love for photography and obsession with photo editing and graphic design, I just couldn't bring myself to buy invitations for our daughter's second birthday party, so I made them myself. Honestly, they only took a few of hours from start to finish and for all of you crafty and creative women out there, I encourage you to try making your own invitations for the next special event you plan; it not only makes such an impression on your guests but it also peaks their interest.
Below I am including the instructions for making these invitations... for future reference!
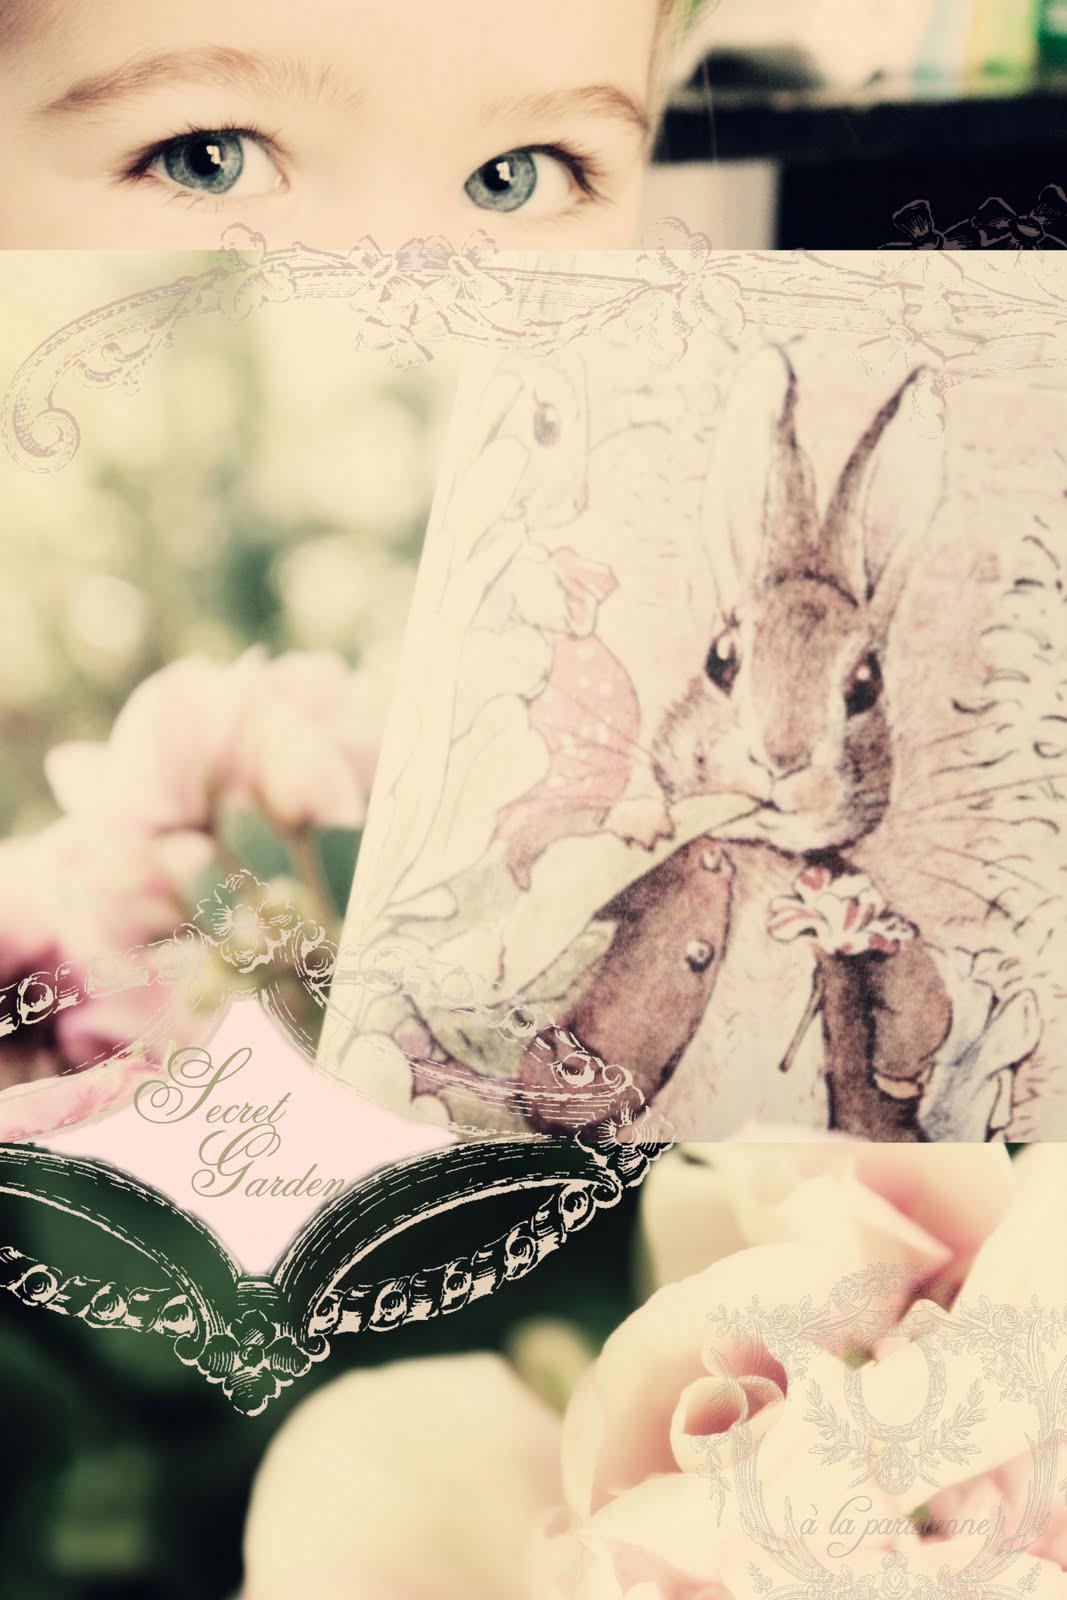
How they were made:
The front of the invitation is comprised of three different photographs and is 4X6 inches in dimension.
The top photograph is of Amelia's eyes; the middle picture is actually a picture of an illustration in Peter Rabbit tucked in some Geraniums; and the bottom picture is a closeup of the same Geranium bloom.
Then I added two pieces of nature-inspired clip art as embellishments. I chose the bottom embellishment to hold the title Secret Garden.
I had the front of the invitations printed by a photo lab.

I designed the back of the invitation using the same photo editing program, where I inserted the same lovely piece of clip art at the top. (I handwrote each of the guest's names inside of this embellishment.)
I printed the invitation backs myself on ivory cardstock with a moss green ink.


On a trip to the Warrenton, TX antique fair in March, I found a vendor who had a box full of keys, and they were 25 cents each-perfect. The vendor also had old skeleton keys for $2 each, which would have been nicer, but not really necessary.
I came home and spray-painted these keys a metallic champagne color to soften them up a bit and give them a little more pizazz.
Invitation Assembly:
After the paint on the keys had dried, I cut small strips of blush hem tape and looped them through the key holes and tied the ribbon ends in a small knot.
Then I used a small scrapbooking brad to poke through the ribbon that was holding the key and ran the brad through the cardstock in the top right corner. {See image above}
Then I adhered the photograph to the backside of the cardstock invitation using double-sided photo adhesive stickers.
Coming up Next
Pictures of the party decorations, food, gift wrap, and birthday dress
All images by à la parisienne